
自定义 UITabBar
在一些需要使用 UITabBar 的项目中,目前大家的做法都是使用默认的样式。为了不显得那么丑,一般的做法也就更改一下选中的 item 的颜色,避免出现默认的蓝色的标题和图标。但是(不错,就是这个但是),如果当我点击 TabBar 中的某个 item 的时候,这个 item 的背景颜色应该要高亮。这样用户就会更加地容易知道当前点击的位置了(嗯,好像很有道理)。
如下图这个样子。
为了实现这个效果,我决定首先看看 UITabBar 有没有现成的方法。然而,并没有啊。既然 UITabBar 没有提供现成的方法,那么下一步的做法就是自定义一个 UITabBar 了。准备好了?GO!!!
开始前的准备
在自定义 UITabBar 之前需要把基本的架构做好。创建一个名为 TabBarViewController 的类,作为 window 的 rootViewController。接着再创建几个 UIViewController 的对象,对应到 UITabBar 的 item。
1 | override func viewDidLoad() { |
自定义 UITabBar
这里需要创建 2 个类,分别是 CustomTabBar 和 CustomTabBarItem,都继承于 UIView。它们的作用显而易见,CustomTabBar 用来“代替”系统的 UITabBar,而 CustomTabBarItem 则是 CustomTabBar 的 subView,作为 tabBar 上的元素。
CustomTabBar 的构成
CustomTabBar 在初始化的时候要配置好 CustomTabBarItem 对象,对其进行 addSubView 和 Frame 调整的操作。
整个类的代码如下:
1 | import UIKit |
还好代码不是很多。开始初始化的时候调用了 configTabBarItem() 方法,用来 addSubView CustomTabBarItem 对象。在 layoutSubviews() 方法中,调整 CustomTabBarItem 对象的 Frame。
CustomTabBarItem 的构成
CustomTabBarItem 的构成更为简单。主要是显示 title。
这个类的代码如下:
1 | import UIKit |
CustomTabBarItem 目前只加了一个 Label,用来显示标题。如果想要加上图片,过程跟添加 Label 差不多。
代码写到这里,基本上完成了自定义 UITabBar。剩下的就是在 TabBarViewController 中配置好 CustomTabBar 了。
使用 CustomTabBar
使用 CustomTabBar 的过程变得非常简单,只需要几行代码就可以看到效果了。
1 | var customTabBar = CustomTabBar() |
在 TabBarViewController 的 viewDidLoad() 方法中添加一下 2 行代码就可以了————还记得本文开头那里准备 TabBarViewController 的代码吗?没错,就是那个 viewDidLoad。
1 | customTabBar.frame = tabBar.bounds |
最后,为了实现切换后高亮 item 的效果,需要实现一个 UITabBarDelegate 的代理方法。
1 | override func tabBar(_ tabBar: UITabBar, didSelect item: UITabBarItem) { |
最后的步骤也完成了,看看效果如何。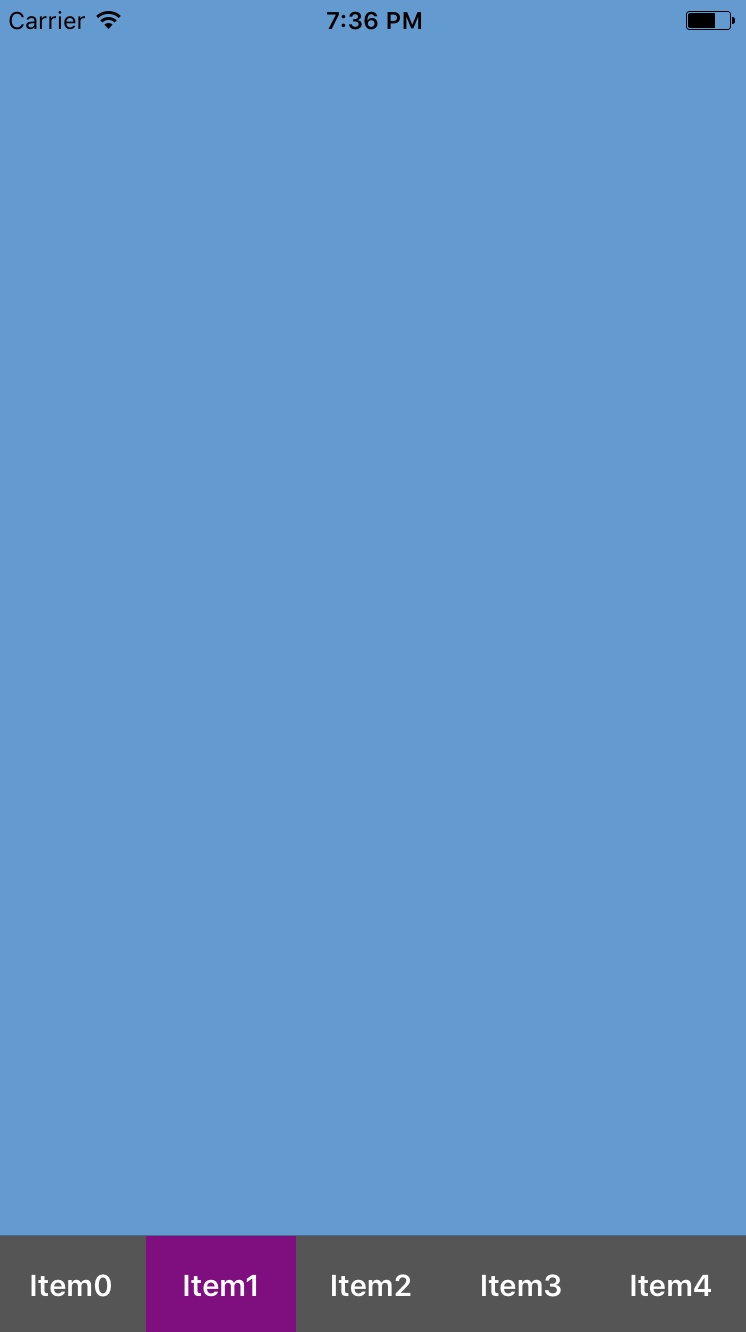
是不是挺不错,哈哈。
存疑
UITabBarController 有一个 selectedIndex 的属性,起初我以为这个属性代表的是当前 item 的 index。然而,在 UITabBarDelegate 的 tabBar(_ tabBar: UITabBar, didSelect item: UITabBarItem) 方法中,print 出 selectedIndex 的值竟然是上一次点击 item 的 index。有趣的是,这个代理方法中,所点的 item 并不是 selectedIndex 对应的 item。这个是真・当前的 item。
目前的解决方法是利用这个代理方法中的 item 来获取其所在的 index,然后把这个 index 赋值给 selectedIndex。
1 | let index: Int? = tabBar.items?.index(of: item) |
更新
正如前面所说的,在 UITabBarDelegate 的 tabBar(_ tabBar: UITabBar, didSelect item: UITabBarItem) 代理方法中,selectedIndex 并不是正确的 selectedIndex。那么有没有另外的方法存在着正确的 selectedIndex 呢?
答案是当然有啦。这次的目光放到了 UITabBarControllerDelegate 这个代理。在 tabBarController(_ tabBarController: UITabBarController, didSelect viewController: UIViewController) 的代理方法中 selectedIndex 是正确的。所以在这个方法里可以放心地赋值了。
1 | extension TabBarViewController: UITabBarControllerDelegate { |
哦,对了,不要忘记了设置代理。
1 | delegate = self |
总结
本文粗略地实现了自定义 UITabBar,当中还有比较多的不完善的地方。例如 TabBarViewController 所添加的 viewController 数量没有与 CustomTabBar 的 item 数量对接上。另外一个不那么完善的地方是更改 item 选中背景的方法可能并不是很好(使用 for 循环解决),即使不影响选中的效果。在整个过程中,核心方法就是利用 TabBarViewController 的 tabBar 属性(继承于 UIView)进行 addSubView。利用这一点,后面的步骤就比较简单了。